12/22/12

Last Minute Christmas Food Gifts!


Not that I'm suggesting that anyone has been procrastinating on your Christmas baking....but just in case, here are some great last-minute Christmas food gifts or they would also make a great hostess gift if you're going to someone else's home for the Holidays.


My personal favorites require very few ingredients and no actual "baking":

This is so yummy stirred into coffee!


OR
 

post signature

12/19/12

Peppermint White Chocolate Pretzel Bark


My mom was visiting a few weekends ago and she ran into Trader Joe's for a couple things and came out with a bag of white chocolate peppermint covered pretzels.  They were SO good.  I wanted to make some but I really, really didn't like the idea of individually dipping small pretzels. Honestly I'm kind of lazy and don't do complicated stuff very often.  And, my family can blow through a whole  bag of these in no time flat so it seems like a lot of work to see them disappear so fast.  This way took 10 minutes to do two cookie sheets full and it is so good!  I just layered the pretzels and liberally drizzled the chocolate over. 

We like the sweet/salty combo and this way is a little more salty than sweet.  I will be packaging them up for my first grader's specials teachers to get them out of my house! I used Pretzel Crisps but regular pretzels would work just great. I got a huge bag of the thins at Sam's Club really cheap.  I probably used half a bag, which is equivalent to almost two small bags you'd buy at the grocery store.

Peppermint White Chocolate Pretzel Bark

12-14 oz Pretzel Crisps, or use regular pretzels
1/2 block of white almond bark or candy coat
1/3-1/2 c. crushed starlight mints or candy canes
parchment paper

Line two cookie sheets with parchment paper.  Spread a thin layer of pretzels over the cookie sheet.  They can be overlapping a little bit.  Follow the directions on your bark to melt.  Using a butter knife generously drizzle the pretzels with the melted chocolate, making sure to overlap.  How heavily/lightly you drizzle the chocolate will depend on how much you like.  Before letting it set sprinkle crushed peppermints over the top.  Let set and break apart.  Enjoy.  (These will stay fresh in a ziploc or airtight container up to a week.)


post signature

12/16/12

Beef & Bean Stew


I had a bag of dried northern beans and wanted to use them up so I began my recipe search and found this recipe.  I used it as a basis for this soup and it was so good!  We will make this over and over again, it's easy to put together in the crockpot and is nice to have dinner prep all ready well before the dinner rush.  This recipe is a great way to use up an inexpensive, more tough cut of beef such as a chuck steak or London broil because slow cooking will make it fall apart. 

It is finally crisp in Phoenix, so this is a great recipe to try now!

Beef & Bean Stew (Slow Cooker)
recipe adapted from bhg.com

1 lb dried northern beans (canellini beans)
12 oz. lean beef, cut into 1'' cubes
salt, pepper & 1 tsp. smoked paprika to season the beef
8 oz. bulk Italian sausage (I used fresh chicken sausage)
3 large carrots, peeled and sliced
3 medium onions, coarsely chopped
5 cloves garlic, pressed or minced
6 cups water
4 tsp. instant beef granules or 4 beef boulion cubes
1/2 tsp. dried thyme, crushed
1/2 tsp. dried oregano, crushed
1/2 c. dry red wine (merlot, cabernet, etc.)
1/3 c. tomato paste
fresh parsley, chopped for serving

Soak the beans overnight.  Drain and rinse them and add to a crockpot. Heat a skillet & 1 Tb. olive oil over medium heat, season the beef well with salt, pepper and paprika.  Brown beef on all sides and add to the crockpot. (It isn't necessary to cook the beef completely.) Add the sausage to the skillet and cook completely, adding to the crockpot when finished. Add all other ingredients to the crockpot and stir well.  Cook on low all day or high 4-6 hours.  Stir occasionally throughout the day. Taste and adjust salt & pepper. Sprinkle individual bowls with fresh parsley & serve with crusty French bread.


post signature

12/13/12

Dark Chocolate Mint Truffle Cake Mix Cookies


We had a Christmas party to go to and there was a cookie exchange...so I needed to make 8 dozen cookies.  I don't enjoy baking.  I can bake, but I'm not that great at it and I really don't love it.  I think what I dislike is the mess.  Every time I bake I have to vacuum and clean up a fine flour dusting from everything...and I don't like messes.  So anyway, I wanted to try out a cake mix cookie because I loved the pumpkin cookies so much.  I found this recipe which looked really Christmas-y so I adapted it and it was great!  These cookies are really yummy and I love the gooey mint.  I used the Hershey's mint truffle kisses and chopped them up, but Andes chips would be great.  You can definitely play with this recipe.

I will definitely make these over and over again! AND I baked 8 dozen of them in only a couple hours which is a plus. These cookies would be a great little gift for your neighbors or a teacher.

Dark Chocolate Mint Cake Mix Cookies
recipe adapted from rubyreduction.com

makes 2 dozen cookies

1 box chocolate cake mix (I used Duncan Hines Dark Chocolate Fudge)
2 eggs
1/2 c. oil (I used a little bit less than that)
1 c. chopped Hershey's kisses, your favorite flavor will be great.  I used mint truffle.

The best way to chop the kisses is to unwrap them all and refrigerate at least an hour.  Then chop them up and measure out 1 generous cup. Preheat the oven to 350.  In a large bowl mix together cake mix, eggs & oil with a hand mixer until everything is blended well, no clumps in the mix.  Stir in the chopped kisses.  Roll into balls, about 1-1 1/2 inches, and bake 10 minutes.  Let cool completely.
 

post signature

12/9/12

Peanut Butter Cookie Oreo Brownie Bars


I am kind of obsessed with this recipe.  I found it on Pinterest (shocking) and it is SO good. You actually "need" the ice cream because it's pretty sweet!  The original recipe was for chocolate chip cookie dough on the bottom, but I decided to change it up and do peanut butter cookie dough and we all loved it.  Don't judge, but I used a package of Betty Crocker cookie dough mix for the peanut butter cookie dough and it worked out just perfectly without having to measure out a hundred ingredients...you do whatever you want!  One tube of peanut butter cookie dough or a half batch of your favorite peanut butter cookie mix would work great if you aren't a lazy baker like me.  This would be a great addition to any Christmas party!  I used dark chocolate hot fudge from the store to drizzle on top because I ran out of time to make my own, but this hot fudge from Our Best Bites would be fantastic on top!

Peanut Butter Cookie Oreo Brownie Bars
recipe adapted from kevinandamanda.com

cooking spray or butter for dish
1 package Betty Crocker peanut butter cookie mix, prepared according to directions (oil & eggs needed)
1 package Double Stuff Oreos
1 box brownie mix, prepared according to directions (eggs & oil needed for this also)
1/4 c. hot fudge sauce
vanilla ice cream
additional hot fudge for serving

Preheat the oven to 350.  Spray or butter a 9x13'' pan.  Press the peanut butter cookie dough down into the pan evenly.  Layer on the Oreos.  Stir the 1/4 c. hot fudge sauce into the brownie batter and pour the brownie batter over the top. Cover with foil and bake 30 minutes.  Remove the foil and bake another 15-20 minutes, it will still be a little bit gooey in the middle when done but not seem raw.  Let cool before cutting.  Top with vanilla ice cream and additional hot fudge, if desired.  Enjoy!!

http://pinterest.com/pin/create/button/?url=http%3A%2F%2Fcrackedupkitchen.blogspot.com%2F2012%2F12%2Fpeanut-butter-cookie-oreo-brownie-bars.html&media=http%3A%2F%2F3.bp.blogspot.com%2F-NpqaAVgwXN4%2FUMSu8QvqCSI%2FAAAAAAAAAW8%2FdXVW7ZUE-PU%2Fs1600%2Fsexy%2Bbrownies.JPG&description=Cracked%20Up%20Kitchen%3A%20Peanut%20Butter%20Cookie%20Oreo%20Brownie%20Bars


post signature

12/4/12

Pinspiration: Displaying Christmas Cards


We have a lot of family and get lots of Christmas cards, which I love! Every single year I am looking for a way to display my Christmas cards.  I have tried at least six different ways to display them and never was in love with any of them.  Somewhere during the last year I pinned this idea and miraculously....I remembered to look at my "Christmas" pin board this November!  I am loving this way to show my cards.  So very simple, not expensive and can add some color or decor to even the simplest holiday decor in a few minutes.  Thank you to Budget Wise Home for the great idea!

Supplies Needed:

  • ribbon
  • scissors
  • tape
  • mini clothespins
Here's what to do:


  1.  Measure your cupboards so you know how much ribbon you need.  You need a little extra to fold over the tops and bottoms so don't forget to account for that.
  2. Choose a ribbon, I would suggest something a little wider and not sheer so that it will hold more weight.  I got this finished burlap which is also used as garland on my tree so it all ties in.
  3. Cut the ribbon to the length you need. Don't forget to account for the extra needed to go over the tops and bottoms of the cupboard doors or you'll be sad.
  4. Attach the ribbon with tape at the top of the inside of the cabinet door.  Then tear off a shorter piece of tape and roll it up and stick it on the back of the middle piece of ribbon on the front of the door for extra hold. Lastly attach the ribbon with tape at the bottom of the inside of the cabinet door. Note: I started out with packing tape and then I ran out, so I ended up with duct tape which is a little stronger but I can't guarantee I won't be scrubbing the ductape residue off with googone after Christmas!
  5. Clip your cards on the ribbon with tiny clothespins & enjoy them!

http://pinterest.com/pin/create/button/?url=http%3A%2F%2Fwww.crackedupkitchen.blogspot.com%2F&media=http%3A%2F%2F4.bp.blogspot.com%2F-D6aET8r0dms%2FUL5qZapRoiI%2FAAAAAAAAAWE%2F-onAYKYcgVM%2Fs1600%2Fchrist%2Bcards%2Bribbon.JPG&description=Cracked%20Up%20Kitchen%3A%20Christmas%20Card%20Display
post signature

12/2/12

Roasted Veggie Flatbread


This is my go-to lunch lately and sometimes dinner. What can I say, I get in a rut.  This is very similar to the Greek hummus pizza, just less cheese and no making crust so you can actually throw it together in a couple minutes and just bake while you put your kids down for a nap.  Or whatever you do at your house in 10 minutes.  This is the perfect use for the roasted garlic hummus, but store bought hummus is great on it also.  If you're eating vegan just skip the feta.  But...the feta is really good on here so I pretty much never skip it.  Any veggie would be great on this so go for whatever you have/like.

Roasted Veggie Flatbread

1 flatbread, wrap or tortilla ( I use Flat Out wraps)
2 Tb. Hummus
Zuchinni or yellow squash, very thinly sliced 
Tomato, thinly sliced
Spinach (Just enough to cover the wrap)
Bell pepper, any color, thinly sliced
Red onion, thinly sliced
2-3 Tb feta, crumbled

Preheat the oven to 425.  Spray a piece of foil with cooking spray and lay the wrap or tortilla on it.  Spread the hummus all over the wrap.  Layer the squash, tomato, spinach, bell pepper and onion.  Sprinkle on the feta and bake for 10-12 minutes.  
 
 
post signature

11/30/12

Roasted Garlic Hummus


This seems like an appropriate post-Thanksgiving post.  I mean, I will speak for myself here in that I ate WAY too much junk...and with Christmas cookies right around the corner I need to load up on fresh fruits and veggies while I have the willpower to do so.

I have made my own hummus several times but wasn't ever super thrilled with it because I felt like the tahini overpowered it and it wasn't ever very smooth.  So I continually buy the Sabra hummus at Sam's Club (like, every single week) because it's really good and a super cheap price there.  Then, I read the Pinch of Yum's hummus tutorial and gave homemade hummus another try.  This recipe is SO easy, VERY inexpensive and is SO SO good & creamy.  

If you head over to her site you'll see that she makes a huge point of peeling the skins off of the chickpeas, which I have never heard of, and sounded like a pain in the rear but I did it and they just pop right off!  (Note--it does take a little time.)  My four year-old "helped" me and we just tossed everything in the food processer and BAM, hummus.  We love garlic but if you're not into it you could certainly reduce the amount, leave it out or substitute a clove or two of raw garlic for the roasted.  


Roasted Garlic Hummus
recipe adapted from Pinch of Yum

4-6 cloves garlic
spray of oil
2 cans chickpeas, drained and rinsed
3 Tb. olive oil
1/2 c. water
sea salt to taste
dash of cumin
dash of smoked paprika

To roast the garlic preheat the oven to 350, peel the cloves and put in a small piece of foil. Spray with oil spray and wrap into a little packet.  Put in the oven for 20-30 minutes, check before removing.  The garlic is roasted when it is soft and golden-brown. Set aside.  In the meantime peel the chickpeas, just pinch them until the skins pop off and discard the skins.  Once the chickpeas are peeled and the garlic is roasted toss the chickpeas, garlic, salt, cumin, smoked paprika & olive oil into the food processer.  (If using a blender instead, pour a little water in first before the beans.) Process until smooth.  Then, slowly stream the water in until you get the desired consistency.  You may end up using more or less than 1/2 c. of water, just keep an eye on it.  Taste and adjust seasoning to your liking.  Serve with veggies, tortilla or pita chips, or flat bread.


post signature

11/26/12

Carrabba's Bread Dip Mix


We live in a somewhat new/smallish suburb of Phoenix and when we first moved out here, there wasn't much. When Carrabba's opened we were there.  Rob instantly became obsessed with their herb bread dip and insisted I find a way to make some.  Immediately.  So naturally I googled "Carrabba's bread dip mix" and up popped the copycat recipe!  I love this recipe because you mix up all of the dry herbs and it stays fresh pretty much forever so you can keep it on hand.  Mix some with fresh garlic and olive oil and you have an instant Italian appetizer.  I like to bring this to people with a homemade meal and everyone loves it.  Really, everyone.

This would make a great little gift for your neighbors in a small jar, and is super simple to throw together.  I usually buy my dried herbs in the little packets on the Mexican food aisle.  They are super cheap ($.89.)

Carrabba's Bread Dip Mix
recipe from food.com

1 Tb crushed red pepper flakes
1 Tb. black pepper
1 Tb. dried oregano
1 Tb. dried rosemary
1 Tb. dried basil
1 Tb. dried parsley
1 Tb. granulated garlic
1 tsp. sea salt
fresh garlic cloves & olive oil for serving

Mix all herbs & salt together in a small bowl.  Store in a jar or ziploc bag until you're ready to use.  To serve, crush or grate a clove of garlic on a plate and mix 1 Tb. herb mix in with the garlic.  Cover with desired amount of olive oil and dip a baguette or french bread in the oil mixture. 

post signature

11/20/12

Roasted Beets & Brussels Sprouts Salad with Goat Cheese


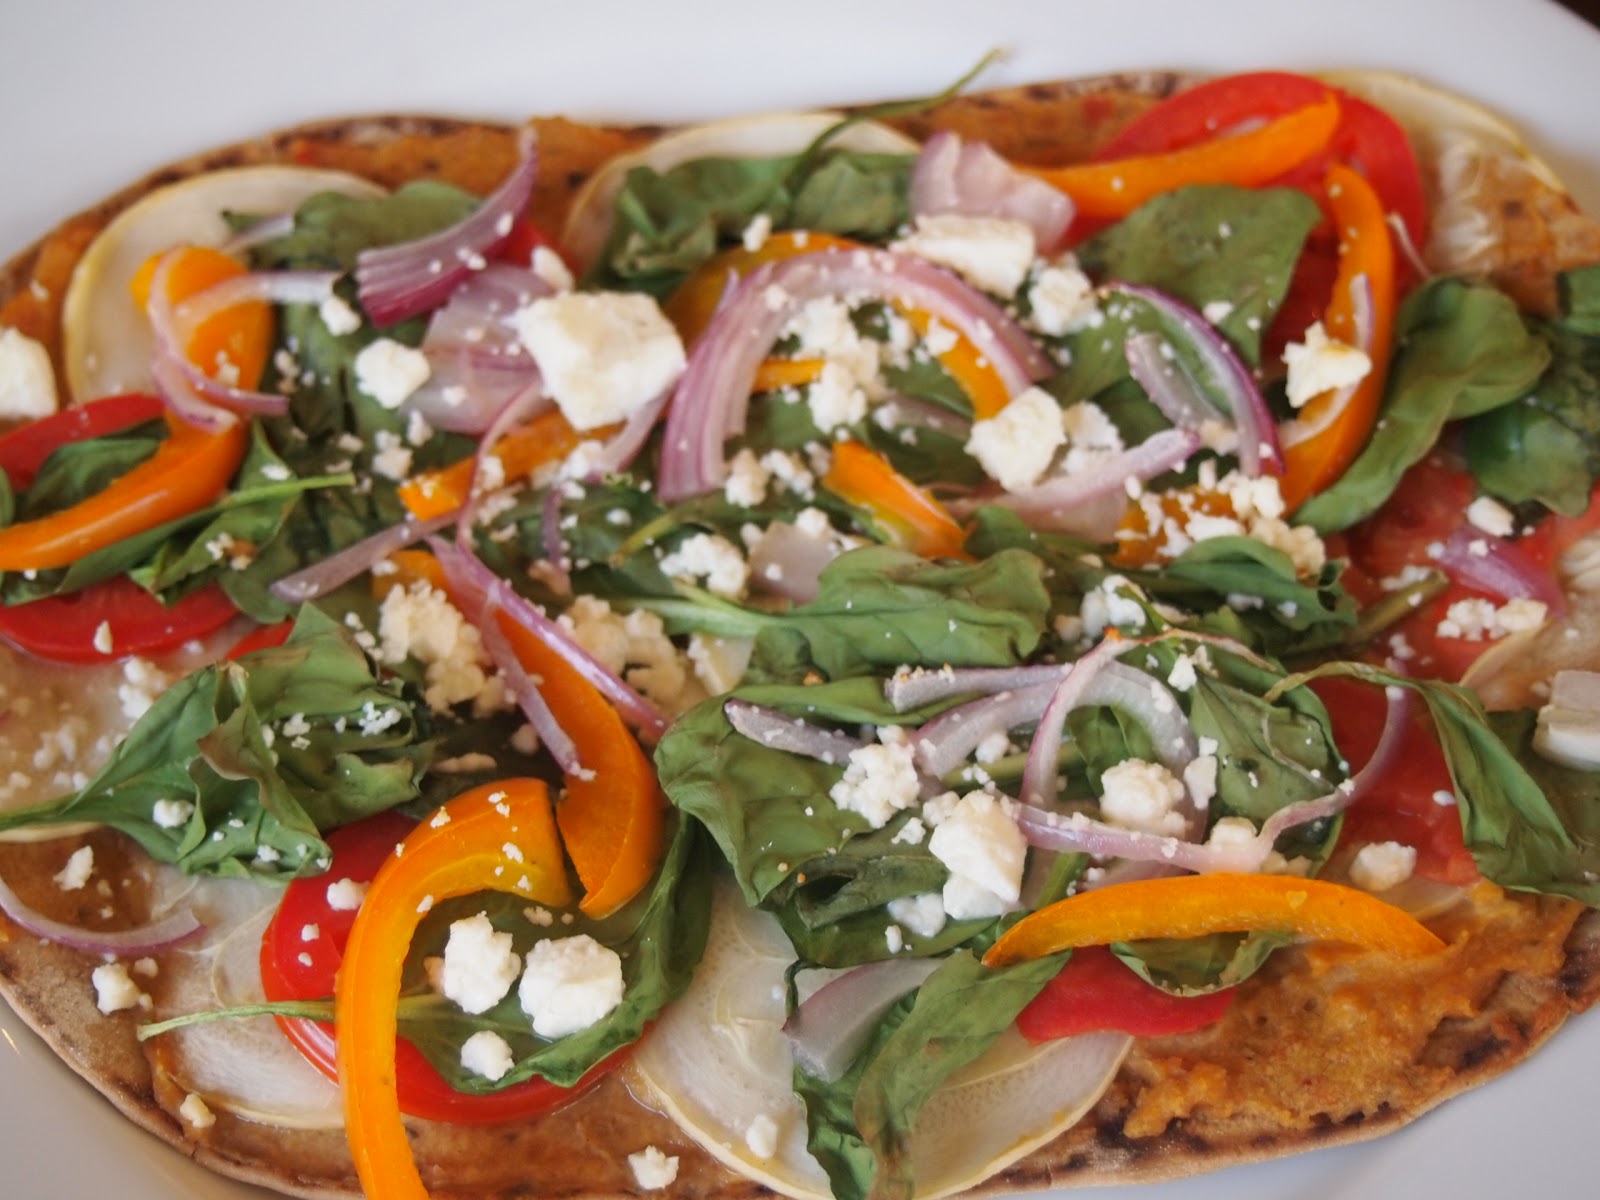
When Rob and I were first dating and married his photo lab was in the same shopping center as a little Italian food place called Babbo.  We ate there a lot.  Like, a LOT. It may or may not have contributed to my 15 lb weight gain our first year married.  Then we moved out to a suburb and were so excited when they opened a Babbo a few miles from our house a couple years ago.  Unfortunately the one bummer part about having three small children is we just really can't eat out very often on account of the emotional duress we face when sitting still in public with them.  BUT a few weeks ago my mom was in town and she babysat so we could go out and we ate this salad at Babbo....it. is. so. good.  They had it paired with a champagne vinaigrette which is to die for, kind of sweet, kind of tart--just so good!  I had to make it at home.  

We ate this for dinner one night with a piece of crusty bread and we both loved it.  If you wanted extra protein some grilled chicken would be really good on this too. I paired it with a vinaigrette I love from Our Best Bites.  I have to warn you that beets die your skin, your counters and your goat cheese, so deal carefully with them, but they are so good! I think if you were in a pinch and wanted to sub a can of no salt-added whole beets and just chop them up and roast them for a minute it would work fine too.

Roasted Beets & Brussels Sprouts Salad with Goat Cheese

For four dinner-sized or one large family-style salad:
3-4 Tb olive oil
1 lb brussels sprouts, rinsed and quartered
3 large beets, cleaned and peeled and chopped
4-6 Tb.sliced almonds
4-6 Tb. dried cranberries
1/2 red onion, thinly sliced
about 12 c. spring mix or field greens
6 oz soft goat cheese

Heat oven to 420.  I needed to use two cookie sheets, but it will depend on how many veggies you have and whether or not you're roasting the beets.  Spread a thin layer of the brussels sprouts and beets.  Roast for 20-35 minutes, stirring in the middle, until the brussels sprouts are golden and somewhat crispy and the beets are soft. (The beets may take longer.) Remove from the oven and make the dressing while the veggies cool a bit.  To make the salad layer greens, brussels sprouts, beets, almonds, cranberries, red onion and goat cheese.  Drizzle with dressing and serve immediately.


Honey Red Wine Vinaigrette
recipe from Our Best Bites

1/2 c. red wine vinegar
1/2 c. honey
2 cloves garlic, chopped
1 tsp. sea salt
1 tsp. black pepper
1 c. canola oil

Combine vinegar, honey, garlic, salt & pepper in the jar of your blender.  Run the blender until everything is combined.  Turn the blender to low and slowly stream the oil in while the blender is running.  Pour the dressing into a jar and refrigerate up to a month.  (It will never last that long because it is so yummy:)
 
post signature